Make Restaurant-Quality Chicken Parmesan Crispy at Home
Few dishes command universal adoration quite like chicken parmesan. This Italian-American classic, with its tender chicken cutlets, vibrant tomato sauce, and melty cheese, is a comforting indulgence that graces countless dinner tables and restaurant menus. But while the concept of chicken parm is simple, its execution can be notoriously tricky. The most common pitfall? A dish that starts crispy but quickly devolves into a disappointing, soggy mess. If you've ever dreamt of recreating that perfect, crispy, restaurant-quality chicken parmesan in your own kitchen, free from the dreaded sogginess, you're in the right place. We're about to unlock the secrets to a sublime, never-soggy chicken parm experience that might even surpass your favorite eatery's version.
The Restaurant Dilemma vs. Homemade Perfection
It's an unfortunate truth that many restaurant versions of chicken parmesan, despite their popularity, often fall short of their crispy potential. The allure of generous portions frequently leads to an overabundance of sauce and cheese, overwhelming the carefully breaded chicken. The result is a monolithic clump where the delicate crunch of the fried cutlet is lost, turning what should be a textural marvel into a uniform, soft mass. This isn't to say all restaurant chicken parm is bad, but achieving that "holy grail" of crispy-on-the-outside, tender-on-the-inside perfection is a rare find.
The beauty of making chicken parmesan at home lies in your complete control over every element. You dictate the quality of ingredients, the seasoning, and critically, the amount and placement of sauce and cheese. This meticulous approach is the true secret weapon against sogginess. By understanding and implementing a few key techniques, you can transform a good chicken parm into an extraordinary one – crispy, flavorful, and perfectly balanced. For even more detailed strategies on maintaining that perfect crunch, refer to our guide: Unlock Crispy Chicken Parmesan: The Secret to Avoiding Soggy Meals.
Laying the Foundation: Impeccable Chicken Preparation
The journey to crispy chicken parmesan begins long before the heat hits the pan. The foundation of a great dish is a well-prepared chicken cutlet. Neglecting these initial steps is like building a house on sand – it simply won't stand up.
Pounding for Evenness and Tenderness
The first crucial step is to prepare your boneless, skinless chicken breasts. They often vary in thickness, which can lead to uneven cooking. To remedy this, place each chicken breast between two sheets of plastic wrap and pound it out to an even ½-inch thickness. A meat mallet is ideal for this, but the bottom of a heavy pan works just as well. The goal isn't just to make it thinner, but uniformly thin. This ensures that every part of the chicken cooks through at the same rate, preventing dry spots or undercooked sections, and also creates a larger surface area for that delicious breading.
Seasoning Smart and Strategically
Once pounded, season your chicken generously with salt and freshly ground black pepper on both sides. This is where most of your seasoning should come from. There's no need to salt the flour or breadcrumbs if you've seasoned the chicken well. Over-salting can occur if you season every layer, leading to a dish that's aggressively salty rather than pleasantly seasoned.
The Breading Magic: Panko, Parmesan, and the Rest
Next comes the breading station, a critical component for that coveted crunch. You'll need three shallow dishes: one with all-purpose flour, one with beaten eggs (perhaps a splash of milk or water), and the final one holding your secret weapon: Panko breadcrumbs mixed with finely grated Parmesan cheese. Panko is superior to standard breadcrumbs due to its larger, flakier texture, which absorbs less oil and delivers a much crispier finish. The addition of real Parmesan cheese to the panko isn't just for flavor; its fine granules embed within the panko, creating an even more formidable, crispy shell and a nutty depth that elevates the entire dish. Most traditional versions use only mozzarella, but a touch of real Parmesan makes a world of difference.
Dip each chicken cutlet first in flour (shaking off excess), then in egg, and finally into the panko-Parmesan mixture, pressing firmly to ensure a thorough coating. Once breaded, allow the chicken to rest on the counter for about 15 minutes. This seemingly small step is vital: it gives the breading time to adhere properly to the chicken, preventing it from falling off during frying. This adherence is key to a consistent, crispy crust.
The Strategic Application: Sauce, Cheese, and Heat
This is where homemade chicken parmesan truly shines over its restaurant counterparts. The key to maintaining crispiness lies in a judicious approach to sauce and cheese.
The "Less Is More" Sauce Philosophy
The cardinal sin of soggy chicken parmesan is an excess of sauce, particularly underneath the breaded cutlet. To avoid this, resist the urge to drown your chicken. Instead, spread just a thin layer of sauce on top of the fried chicken. This minimal application allows the breading to retain its crunch while still imparting that essential tomato flavor. If you're a sauce lover, don't despair! The best strategy is to serve extra warm marinara sauce on the side for dipping. This way, everyone can customize their sauce level without compromising the integrity of the crispy chicken. This approach ensures you get the best of both worlds: ample sauce and undeniable crispness.
The Power of a Sophisticated Cheese Blend
While mozzarella is non-negotiable for its incredible melt, don't limit yourself. A superior chicken parmesan benefits from a blend of cheeses. Combine fresh mozzarella (drained and patted dry to reduce excess moisture) with some tangy provolone and, yes, a sprinkle of real grated Parmesan cheese. The provolone adds a delicious sharpness and depth that complements the mild mozzarella, while the Parmesan contributes its distinct nutty, umami notes and aids in achieving a beautifully browned, bubbly top. This trio creates a complex flavor profile and a perfect texture.
The Importance of a Screaming Hot Oven
After a quick pan-fry to develop that initial golden crust (just until golden brown, not cooked through!), your chicken parm will move to the oven. Preheat your oven to a blistering 450°F (230°C) – and make sure it's fully preheated. A hot oven is critical for two reasons: it quickly melts and browns the cheese, and it crisps up the breading without overcooking the chicken. You want that satisfying sizzle and bubbly, slightly browned cheese without the chicken becoming dry. This high heat strategy is a game-changer for texture. Many of these insights align perfectly with expert recommendations, such as those detailed in Chef's Top 6 Tips for Perfectly Crispy, Never-Soggy Chicken Parm.
Bringing It All Together: Frying, Baking, and Serving
With all your components prepped and strategies in place, it's time to bring your crispy chicken parmesan to life.
The Initial Pan-Fry
Heat a shallow amount of neutral oil (like canola or grapeseed) in a large skillet over medium-high heat. Once shimmering, carefully place your breaded chicken cutlets into the hot oil. Fry for about 2-3 minutes per side, just until they are beautifully golden brown and crispy. This step creates the initial crunch that will be preserved in the oven. Remove the chicken from the skillet and place them on a baking sheet lined with parchment paper.
The Oven Finish
Now, it's assembly time on the baking sheet. A small amount of sauce goes on top of each golden cutlet, followed by your glorious blend of mozzarella, provolone, and Parmesan. A sprinkle of fresh herbs like basil or oregano can be added for aromatic appeal. Transfer the baking sheet to your preheated 450°F (230°C) oven. Bake for 10-15 minutes, or until the cheese is bubbling, melted, and slightly golden brown, and the chicken is cooked through to an internal temperature of 165°F (74°C). The quick, intense heat will work its magic, further crisping the breading and creating that irresistible cheesy top.
Serving Your Masterpiece
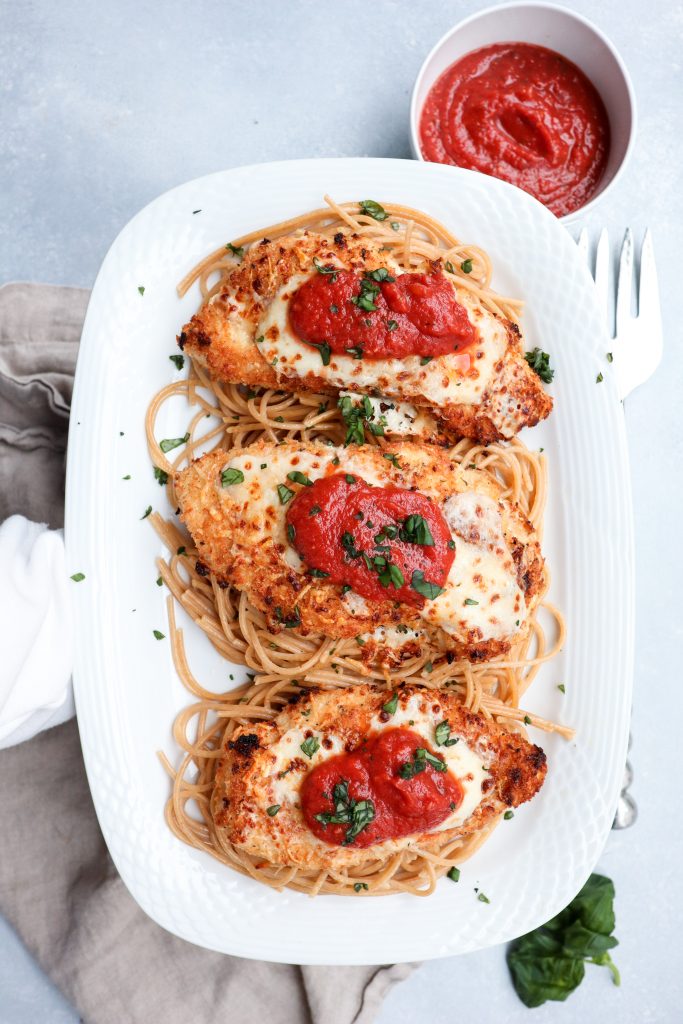
Once out of the oven, allow your chicken parmesan to rest for a minute or two before serving. This allows the juices to redistribute and the cheese to set slightly. Serve immediately with your extra warm marinara on the side, perhaps alongside a simple pasta tossed with butter and Parmesan, or a fresh green salad. The moment you cut into it, you'll hear that satisfying crunch – a testament to your newfound crispy chicken parm prowess.
Making restaurant-quality, crispy chicken parmesan at home isn't just possible; it's incredibly rewarding. By focusing on even chicken preparation, strategic breading with panko and Parmesan, a "less is more" approach to sauce and cheese, and leveraging a scorching hot oven, you can elevate this beloved dish from potentially soggy to perfectly sublime. Embrace these techniques, and prepare to impress yourself and your diners with a truly exceptional chicken parm that boasts a crispy exterior and a tender, juicy interior every single time. Say goodbye to soggy frustration and hello to your new go-to homemade classic!
